Creating Your First Tool
Creating Your First Tool
Tools are actions that your AI can take. Think of them as functions that connect your AI assistant to real services and APIs. When you ask your AI to "get the weather," it uses a tool to fetch that data from a weather service.
This guide walks you through creating a simple weather tool. It's perfect for learning because it's useful, easy to understand, and shows all the key concepts.
What You'll Build
By the end of this guide, you'll have a working tool that gets current weather for any city. Your AI will be able to call this tool when someone asks about weather conditions.
Time needed: About 5 minutes
Before You Start
Make sure you have a Ctxpack account and you're logged into the dashboard. If you don't have an account yet, sign up at ctxpack.com.
You'll also need a free API key from MeteoSource.com. Don't worry, it takes 30 seconds to get one and it's completely free.
Get Your Weather API Key
- Go to MeteoSource.com
- Click "Sign Up" and create a free account
- Check your email and verify your account
- Go to your account dashboard and take note of your API key
- Copy your API key (it looks like
a1b2c3d4e5f6g7h8i9j0k1l2m3n4o5p6)
Save this key somewhere. You'll need it in a minute.
Note that you need to verify your email for the API key to become active.
Step 1: Navigate to Tools
- Open your Ctxpack dashboard
- Click "Tools" in the left sidebar
- Click "Create Tool" button in the top right
You'll see a form where you can define your tool's behavior.
Step 2: Basic Tool Information
Fill in these fields:
Name: get-meteo-information-for-place
Description: Get information for any place_id worldwide. Use input place_id to define the city to get information from.
Why are we naming it so weirdly?
Many LLMs, just like humans, come with preconceived ideas about what tools and their input should be called. For example getting a weather from a tool called get-weather has been around in so many datasets that AI is conditioned to call the tool with a parameter city. We want to avoid ambiquity and make sure that our tool gets called with the correct parameters.
Keep the name simple and descriptive. Your AI will see this name and description, so make it clear what the tool does.
Step 3: Configure the API Connection
Now you'll connect your tool to the MeteoSource API. Base API Endpoint: https://www.meteosource.com/api/v1/free/point HTTP Method: Select "GET"
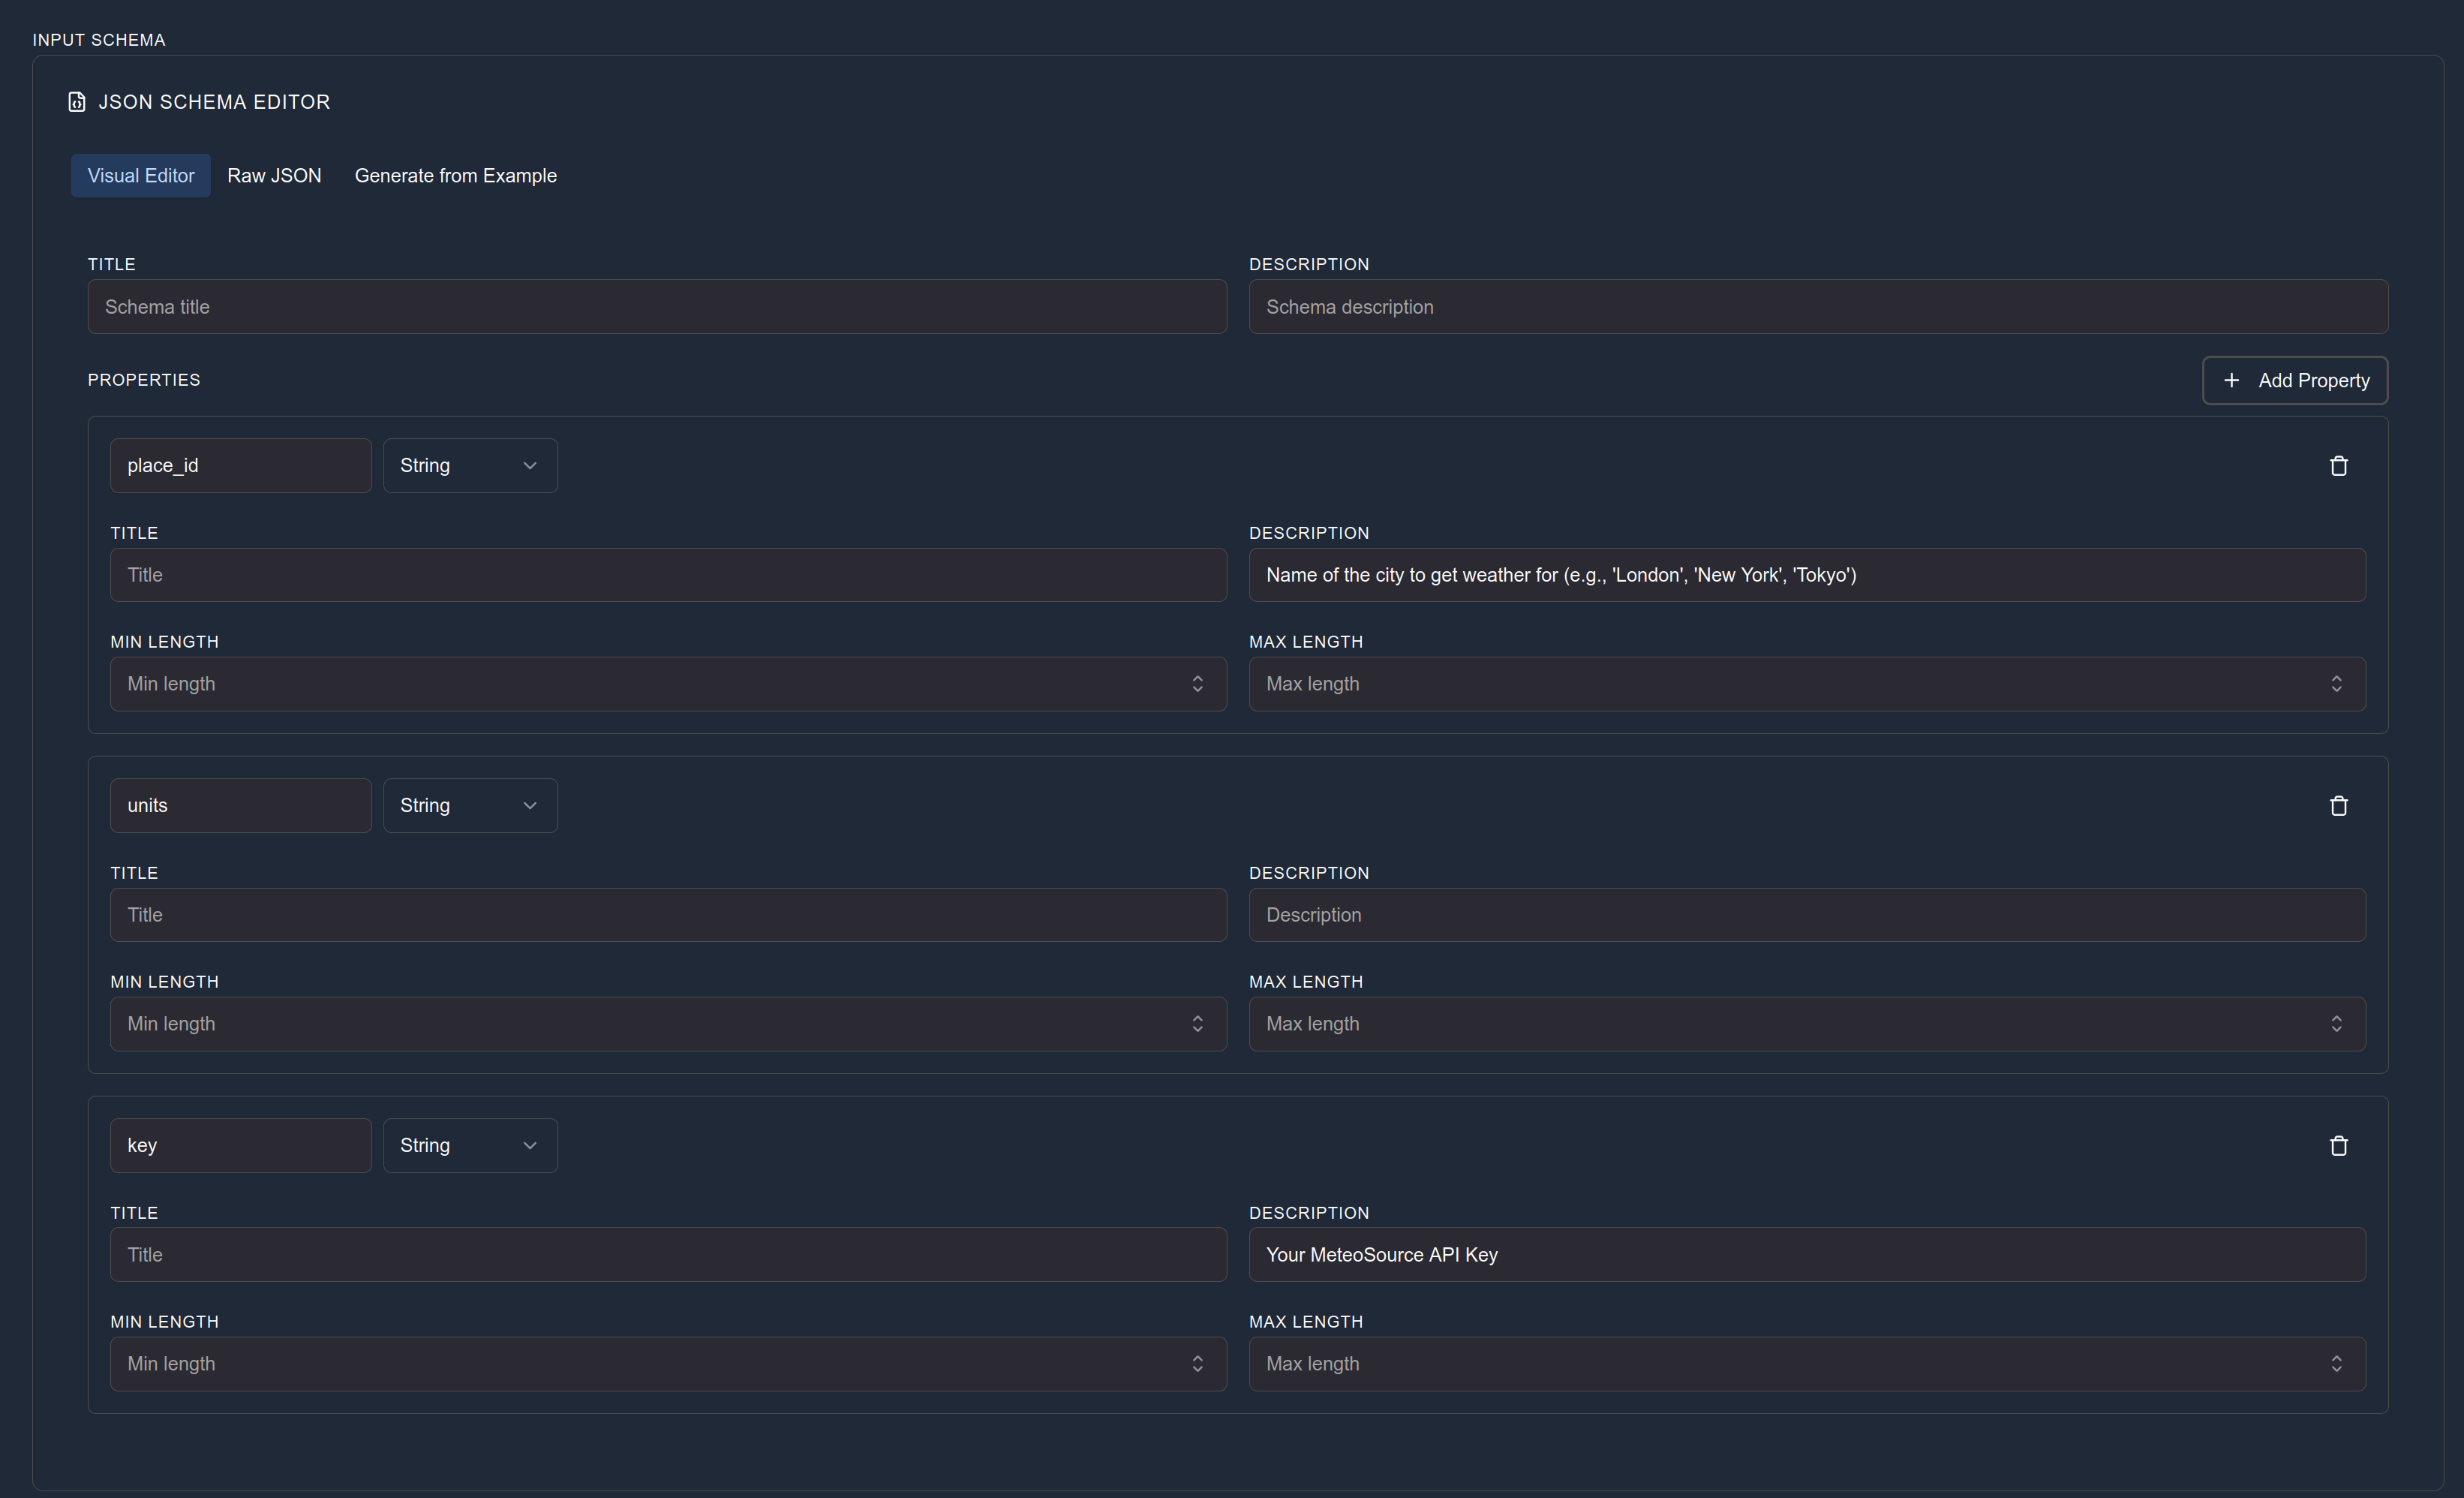
We have also inadvertently defined 3 query parameters already above, by adding items to our input schema. These query parameters are:
| Parameter | Value | Description |
|---|---|---|
place_id | {place_id} | The city name (this gets replaced with the actual city) |
key | YOUR_API_KEY_HERE | Your MeteoSource API key |
units | metric | Get temperature in Celsius |
This means that the final API Endpoint will look like this: https://www.meteosource.com/api/v1/free/point?place_id={place_id}&key=YOUR_API_KEY_HERE&units=metric.
Replace YOUR_API_KEY_HERE with the actual API key you got from MeteoSource. The {place_id} placeholder gets automatically replaced with whatever city the AI specifies when calling the tool.
We'll take a look at another way to handle sensitive information later after our first experimental calls to the API.
In case you would like to replace individual path variables in the URL, you can also add placeholders to it. For example https://api.ctxpack.com/resources/{id} would work if you define an input schema which accepts a property called id. Ctxpack automatically replaces the placeholders between { and } characters on the endpoint URLs.

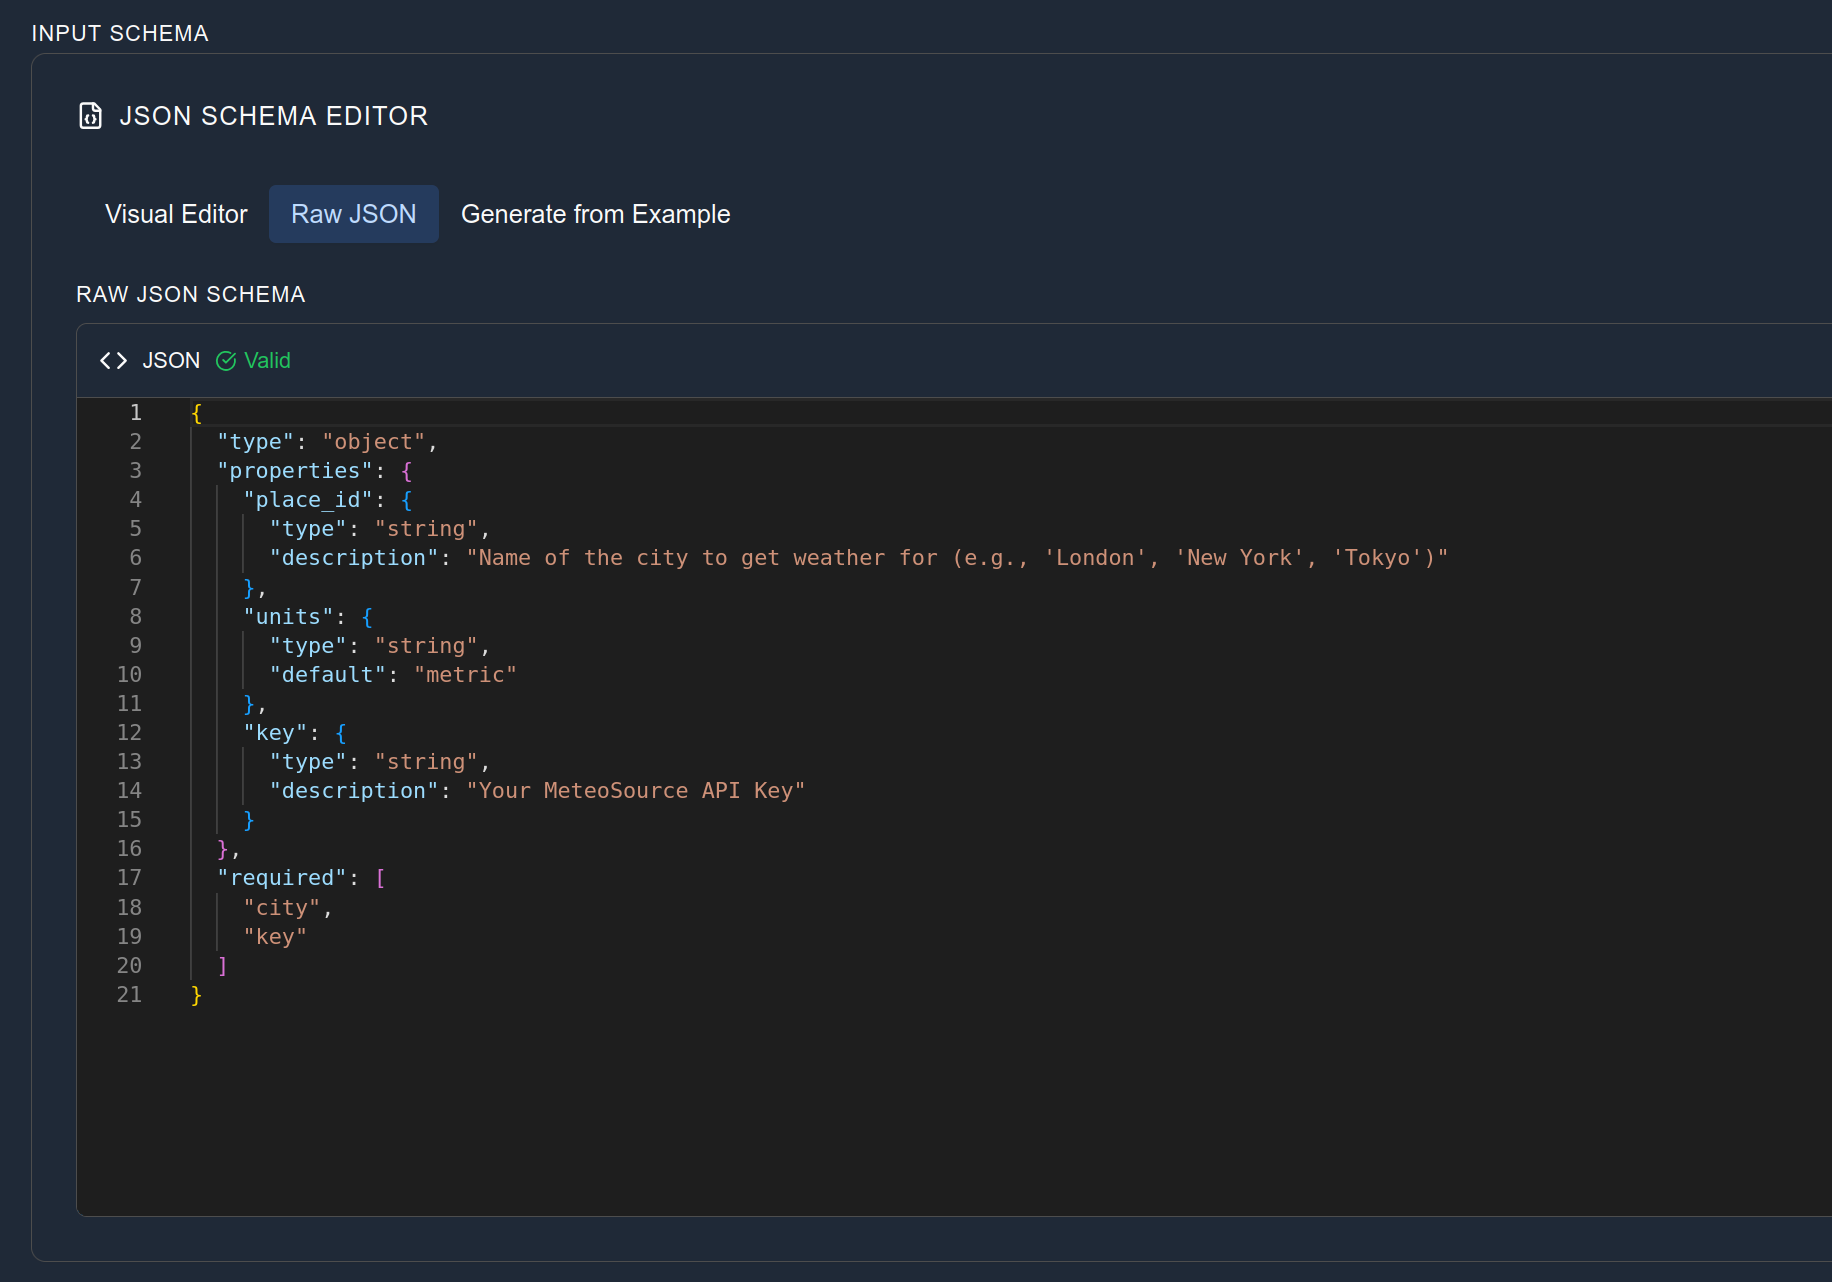
Step 4: Define the Input Schema
This tells your AI what information it needs to provide when using the tool. For weather, we just need a city name.
In the Input Schema field, paste this JSON:
{
  "type": "object",
  "properties": {
    "place_id": {
      "type": "string",
      "description": "Name of the city to get weather for (e.g., 'London', 'Kaohsiung', 'Tokyo')"
    },
    "units": {
      "type": "string",
      "default": "metric",
      "description": "'metric' for civilized numbers, 'us' for undecipherable nonsense"
    },
    "key": {
      "type": "string",
      "desription": "Your MeteoSource API Key"
    }
  },
  "required": [
    "city",
    "key"
  ]
}
This schema tells your AI that this tool expects twi parameters, one called place_id, which it should be a text string and the other one is key, also a string.


Step 5: Save and Test Your Tool
We have now configured all the sections we need for this tool so we can save it and start testing to make sure it works.
- Click "Deploy Tool" on the bottom and wait to be navigated to the tool page.
- Enter a city name like "Arnhem" or "Äänekoski"
- Enter your API Key into the
keyinput field - Click "Run Test"
You should see weather data come back, something like:
{
  "lat": "51.98N",
  "lon": "5.91111E",
  "elevation": 16,
  "timezone": "Europe/Amsterdam",
  "units": "metric",
  "current": {
    "icon": "overcast",
    "icon_num": 7,
    "summary": "Overcast",
    "temperature": 21.8,
    "wind": {
      "speed": 1.2,
      "angle": 288,
      "dir": "WNW"
    }
    // other information...
  }
}
If you see an error instead:
- "Invalid API key": Double-check you copied your API key correctly
- "City not found": Try a different city name like "London" or "
Johannesburg" - Network error: Check your internet connection and try again
Step 6: Securing your API Key
In the previous steps we added the API key to be part of the payload we are sending to the API endpoint. This is not a good practice since it is using plain text to transfer sensitive information. The pattern works for cases where you want your team members to provide their own API keys but not all endpoints support such a pattern.
A more common case is that an endpoint expects a special header value to authenticate. To achieve this in Ctxpack, we'll edit the tool that we just created.
- Click Edit Tool button in the top right corner of the page
- Select Custom from the authentication section
- Enter
X-API-Keyas the value for the Header Key field - Enter
${METEO_SOURCE_API_KEY}as the value for the Header Value field - Delete the
keyproperty from your input schema
MeteoSource.com expects a header called X-API-Key which is used to identify the authorization to access the API functionality. We are adding in a placeholder value with an identifier METEO_SOURCE_API_KEY. This placeholder will be dynamically replaced with the corresponding Secrets value that you can store into the application. You can define secrets in the Settings section of the application, so let's do that.

- Save your edited tool and navigate to Settings and click the Manage Secrets button within the settings screen.
- Click Add Secret and create a secret with a name
METEO_SOURCE_API_KEY - Set your previously stored MeteoSource API Key as the secret value and click save.
Now you can navigate back to your previously created tool and try to invoke the tool again. This time the Ctxpack application automatically replaces the authentication header with the stored secret value. If all is well, you should see the same kind of responses as earlier.
Your tool is now created and ready to use in context packs.
What Just Happened?
You created a bridge between AI and a real service. When your AI gets a request about weather, it can now:
- Understand it needs weather information
- Call your tool with a city name
- Get real weather data back
- Use that data to answer the user's question
Understanding the Components
Input Schema: Defines what information the tool needs. Think of it as the tool's requirements. API Endpoint: The web address where your tool gets data from. Parameters: The specific information sent to the API (city name, API key, units). Response: The data that comes back (temperature, weather conditions, etc.).
Common Issues and Solutions
Tool test fails with "Invalid API key"
- Make sure you copied the full API key from OpenWeatherMap
- Check there are no extra spaces before or after the key
- Verify your OpenWeatherMap account is activated (check your email)
Tool test fails with "City not found"
- Try major cities like "London", "Taipei", or "Tokyo"
- Avoid special characters or abbreviations
- Use English city names
Tool saves but doesn't work in AI clients
- Make sure you've added the tool to a context pack
- Verify your AI client is properly connected to Ctxpack
- Check that your context pack is active in your AI client
Next Steps
Now that you have a working tool, you can: Add it to a context pack so your AI can actually use it. Tools need to be bundled into packs before AI clients can access them. Create more tools for different APIs. The same pattern works for getting stock prices, news, or any other web service. Test it with your AI by adding it to a pack and asking questions like "What's the weather in Tokyo?" Improve the tool by adding more parameters like country codes or different unit systems.
Building on This Foundation
This weather tool demonstrates the core pattern for all Ctxpack tools:
- Define what input you need
- Connect to an external service
- Test to make sure it works
- Bundle into packs for AI to use
You can use this same approach to create tools that:
- Send emails through your email service
- Update spreadsheets in Google Sheets
- Post to social media
- Query databases
- Generate reports
The key is finding services with APIs and connecting them through Ctxpack tools.
Once you have a working tool, you're ready to combine it with resources and prompts to create a complete context pack.